Getting your fingers to cooperate is hands-down the single most important habit you can build as a new guitarist. These simple, repetitive drills are what stand between you and the frustration that makes so many beginners quit. Think of them as your first real step toward playing actual chords, scales, and songs with the confidence you're picturing in your head.
Why Finger Exercises Are Your Secret Weapon
Let's be honest: when you first pick up a guitar, your fingers feel clumsy. They just don't want to go where you tell them to. That's completely normal! Your hands simply haven't built the specific muscle memory needed to press down on the right string in the right place.
Finger exercises are the bridge. They connect what your brain wants to play with what your hands can actually do. These aren't just boring drills to get through; they are the key to making your playing feel fluid and effortless down the road. By focusing on one finger at a time, you're methodically building the strength, nimbleness, and independence you need in each one.
It's All About Muscle Memory
The real magic here is how these exercises literally rewire your brain. Each time you repeat a pattern, you're strengthening the neural pathways between your mind and your fretting hand. It’s like paving a superhighway for instructions to travel. This is precisely why students who stick with these fundamentals progress so much faster than those who just try to fumble through songs from day one. They're turning awkward, hesitant movements into sharp, confident fretting.
The goal isn't speed—it's control. A focused 10-minute warm-up will do more for your playing in the long run than an hour of just messing around. You're teaching your fingers to be efficient, accurate, and ready for whatever you throw at them.
Before we dive into the specific exercises, let's look at the core principles of a good warm-up routine. These are the foundational goals you should always keep in mind.
Beginner's Warm-Up Essentials at a Glance
| Focus Area | Goal for Beginners | Why It Matters |
|---|---|---|
| Finger Independence | Get each finger to move on its own without others tagging along. | Essential for playing clean chords and intricate melodies without muting strings by mistake. |
| Stamina & Strength | Build the endurance to press strings cleanly for an entire practice session. | Prevents hand cramps and ensures notes don't buzz or die out, especially with barre chords. |
| Coordination | Sync the fretting hand with the picking/strumming hand. | This is the bedrock of timing and rhythm. If your hands aren't in sync, nothing will sound right. |
| Accuracy | Land your fingertips precisely behind the fret, every single time. | Guarantees clear, buzz-free notes and is crucial for playing fast passages cleanly later on. |
These four pillars are what turn clumsy practice into intentional, skill-building progress.
Beating the Beginner's Slump
It’s no secret that most new players struggle. In fact, some studies suggest that 80% of beginner guitarists get tripped up by finger coordination in their first month.
But there's a classic exercise that cuts right through this problem. It's simple: place your index finger on the 1st fret, middle on the 2nd, ring on the 3rd, and pinky on the 4th. Then, pick each note and move the whole pattern up to the next string. This single drill, featured in countless guides, is proven to forge those critical brain-to-finger links.
Even seasoned pros point to this "one-finger-per-fret" pattern as a major contributor to developing 60% faster readiness for solos and complex riffs. If you want to see exactly how it's done, you can check out this popular video guide on building finger dexterity. Just 10 minutes of this a day with a metronome will make a world of difference.
The Foundational Four Exercises for Finger Independence
Alright, enough with the theory. It's time to get your fingers on the fretboard and start building that crucial dexterity.
Getting each finger to move on its own command is a journey, but these four exercises are the absolute bedrock. They're designed to systematically train your brain-to-finger connection, giving you the control needed for clean chords and flowing melodies.
We'll start with the undisputed classic: the "Spider Walk." There's a reason every guitar teacher swears by this one—it’s the ultimate boot camp for your fretting hand and forces every finger to do its job.
The Classic Spider Walk
The idea behind the Spider Walk is to get your fingers moving one by one, per fret, across all six strings. Think of it as your fingers literally "walking" up and down the neck. This drill trains them to stay close to the action and move with purpose.
Here's the right way to approach it:
- Find the 5th fret on the low E string (the big, thick one) and place your index finger there. Pick the note.
- Keeping your index finger planted, place your middle finger on the 6th fret. Pick that note.
- Now, with both of those fingers still down, add your ring finger to the 7th fret. Pick again.
- Finally, with the first three fingers anchored, stretch your pinky to the 8th fret and pick the note.
- Great! Now, move to the A string and repeat that same 1-2-3-4 pattern (index-middle-ring-pinky). Keep going, string by string, all the way to the high E.
Once you’ve made it across, just reverse the entire sequence. Walk back down from the high E to the low E. The real magic happens when you focus on lifting only one finger at a time. This simple discipline builds incredible control and helps you kick the "flying fingers" habit—where your fingers lift way off the fretboard, killing your speed and efficiency.
This whole process is a perfect illustration of how guitar skills are built: consistent drills create muscle memory, which paves the way for real progress.
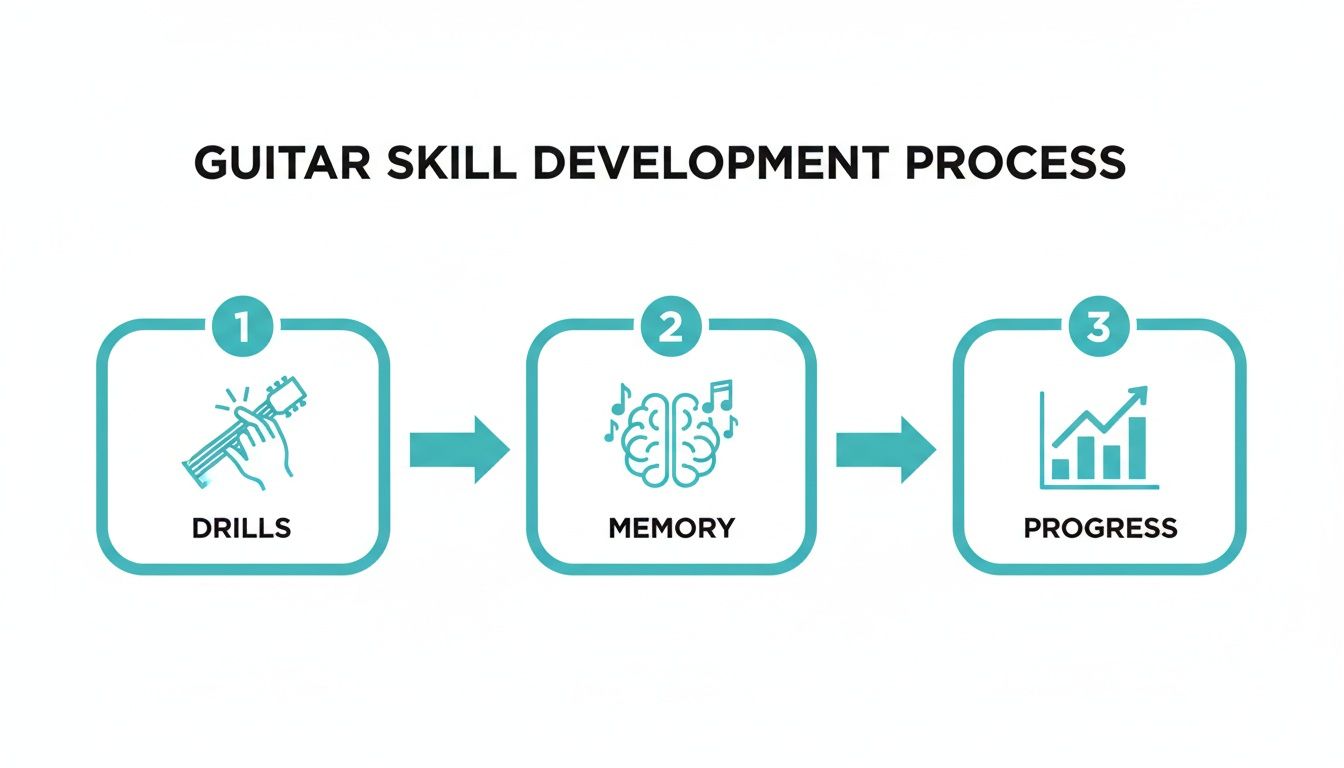
As you can see, this kind of intentional practice isn't just about your fingers; it's about rewiring your brain to make these complex movements feel second nature.
Silent Placement Drills
Believe it or not, one of the most effective exercises makes no sound at all. Silent drills are all about the fretting hand. You get to focus entirely on precision and strength without getting distracted by what your picking hand is doing.
In fact, some studies have shown that consistent finger exercises can improve chord-switching accuracy by up to 50% within just a few weeks.
A great way to do this is to simply place your fingers in the Spider Walk position—index on the 5th, middle on the 6th, ring on the 7th, and pinky on the 8th—and just hold them there. No picking. Just hold. Feel the muscles working. This simple act builds placement memory and can drastically cut down the time it takes to learn new chords.
Basic Legato Builders
Ready to sound smooth and fluid? That's where legato comes in. It’s a technique for playing notes without having to pick every single one, and it starts with two key moves: hammer-ons and pull-offs.
- Hammer-Ons: Pick a note with your index finger (say, the 5th fret). Then, without picking again, bring your ring finger down firmly—like a little hammer—onto a higher fret on that same string (like the 7th). You should hear a new, higher note ring out purely from the force of your finger.
- Pull-Offs: This is the reverse. Start with two fingers down, maybe your ring finger on the 7th fret and your index on the 5th. Pick the note your ring finger is holding, then pull that finger off the string with a slight downward flick. This plucks the string, causing the note under your index finger to sound.
Mastering these builds the explosive strength needed for those fast, liquid-smooth guitar solos you hear. For a deeper look at developing solid technique from the ground up, check out our guide on starting your first classical guitar lessons, as many of the core principles are the same.
Finger Stretches Away From the Guitar
Lastly, remember that your hands are your instruments, too. Building dexterity isn't just about what you do on the fretboard. Gentle, regular stretches can improve your flexibility, prevent cramping, and keep you playing longer.
One quick but important warning: A stretch should never be painful. We're aiming for a gentle release of tension, not trying to force anything.
Here’s a simple one to get you started:
- Hold one hand out in front of you, palm facing up.
- With your other hand, gently bend one finger down toward your palm.
- Hold that light stretch for about 15-20 seconds, then release.
- Do this for every finger, and don't forget the other hand!
Doing this before and after you practice keeps your hands relaxed and ready to go, making every other exercise you do that much more effective.
Building Hand Coordination and Dexterity
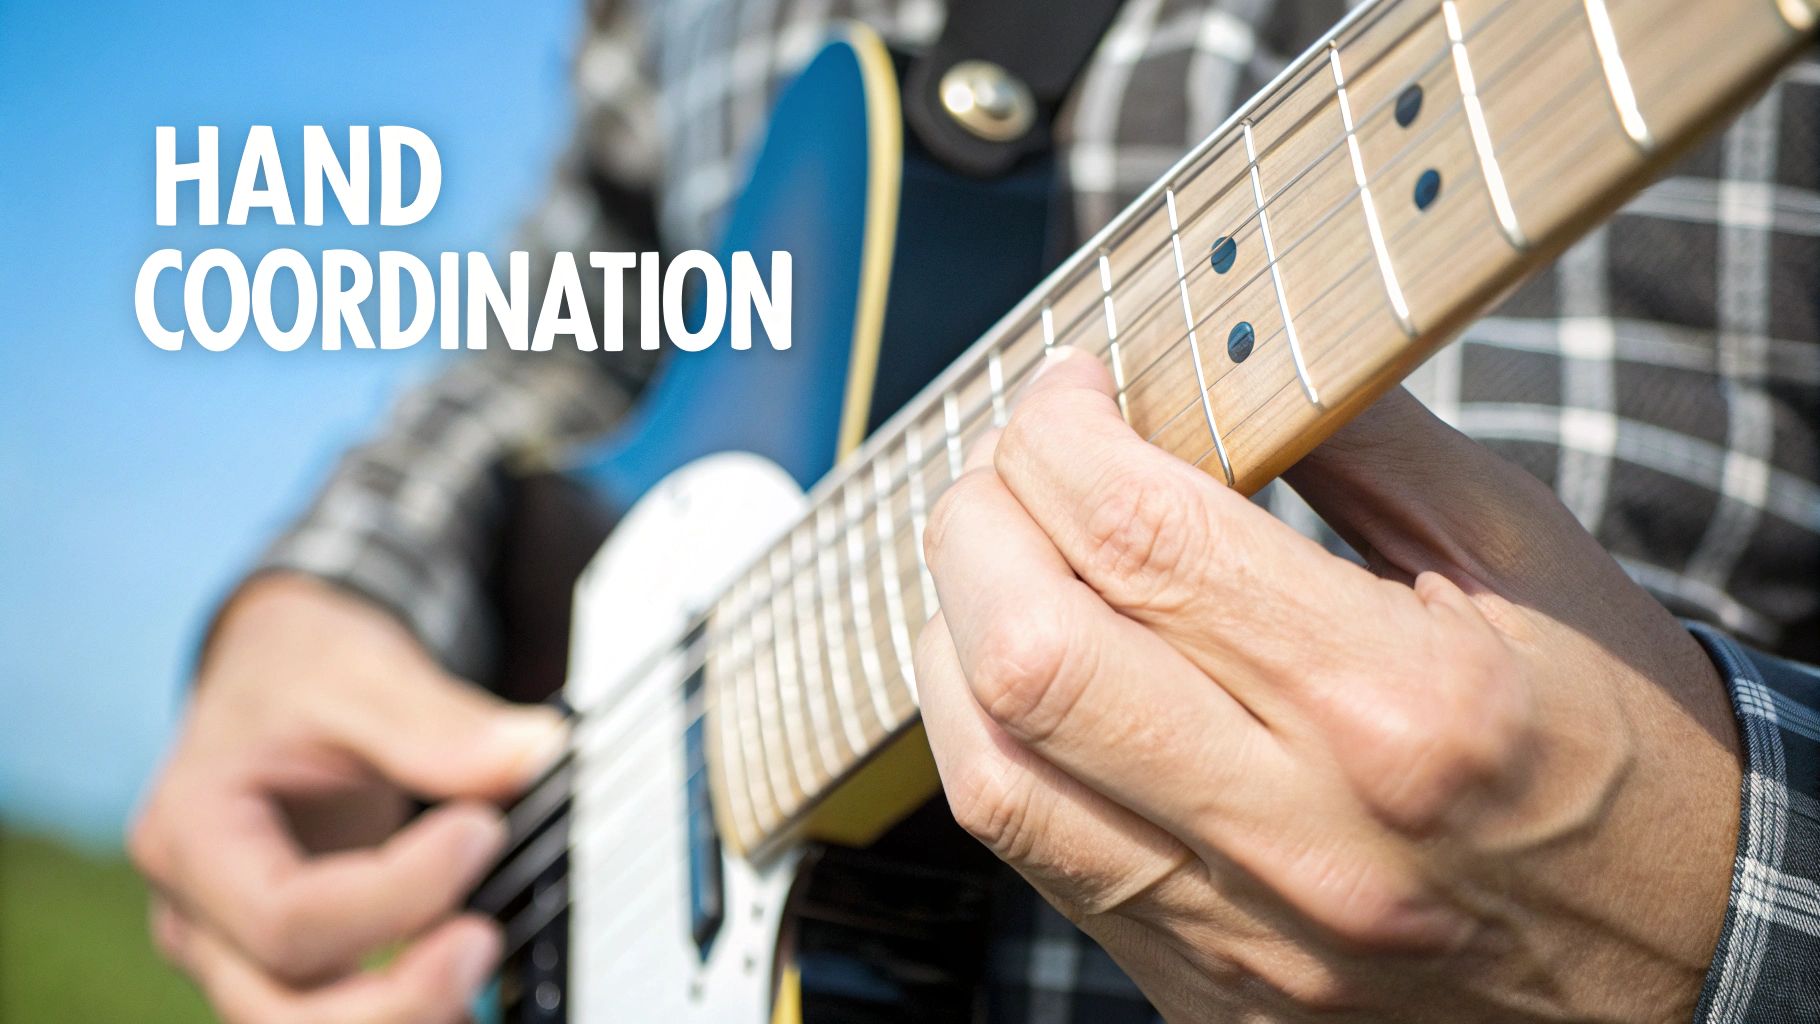
Once you get your fingers to move independently, the next real hurdle is making them work together as a team. This is where coordination enters the picture—it's that seamless conversation happening between your fretting hand and your picking hand. Nailing this sync is what transforms hesitant, choppy playing into smooth, confident music.
This is a common sticking point for new guitarists. You can fret the note just fine, but picking the right string at the right time feels like a total guessing game. Targeted coordination drills are the key here. They're designed to carve out new pathways in your brain, making that complex dance between your hands feel second nature.
Taming the Strings with String Skipping
One of the best ways to get your hands talking to each other is by practicing string-skipping exercises. These drills force your picking hand to find its target without you having to look down, which builds a crucial mental map of the strings.
Let's start with a simple but surprisingly effective pattern using your index (1) and ring (3) fingers:
- First, place your index finger on the 5th fret of the low E string (the thickest one). Pick that note cleanly.
- Next, put your ring finger down on the 7th fret of the A string (the string right below it). Pick that one.
- Now, here's the trick: skip over the D string entirely. Land your index finger back on the 5th fret of the G string and give it a pick.
- Finally, place your ring finger on the 7th fret of the B string and pick that note.
This 1-3-1-3 pattern, played across non-adjacent strings, is going to feel clumsy at first. That's the whole point. It forces your picking hand to make bigger, more deliberate jumps, sharpening its accuracy with every single rep.
When you practice drills that feel just a little bit out of reach, you're doing more than just building muscle. You're rewiring your brain's motor control. These principles are so powerful they're even used in physical therapy.
It's fascinating, really. These types of exercises share common ground with physical rehabilitation techniques. A 2015 study actually used guitar lessons to help chronic stroke patients regain hand function by focusing on the same fine motor skills beginners work on. The drills, which target finger flexion, extension, and grip, highlight just how profoundly this kind of focused practice can shape our dexterity. You can read more about the study's findings on hand rehabilitation through music.
Linking Finger Combinations for Chord Changes
Ultimately, all this coordination work is aimed at making your chord transitions silky smooth. If you've ever found yourself stuck in that awkward pause trying to get from a G chord to a C chord, this is for you.
Think about that G to C switch. Your fingers have to completely remap their positions on the fretboard. A targeted drill can pre-train that specific motion, making it feel automatic.
- The Problem: You're trying to switch from a G major to a C major chord, but the jump feels slow and clunky.
- The Drill: Forget playing the full chords for a minute. Let's just focus on the two fingers doing the most work. Fret the 3rd fret of the low E string with your middle finger (part of the G), then practice moving it to the 3rd fret of the A string for the C chord while simultaneously placing your index finger on the 1st fret of the B string.
By isolating just a couple of fingers, you simplify the movement and build muscle memory for the core of that chord change. Do this slowly and deliberately, over and over. Soon enough, you'll find the full transition feels a whole lot easier. These "micro-drills" are the secret sauce for unlocking fluid chord changes and are a staple of any good set of guitar finger exercises for beginners.
Building Your Own Practice Routine
Knowing a few good finger exercises is one thing, but actually getting better? That comes down to consistency. This is probably the biggest secret in learning guitar: 15 focused minutes every single day will do more for you than a marathon two-hour session once a week. It’s all about building that muscle memory, making the movements second nature. Cramming just doesn't work for your fingers.
The trick is to build a routine that actually fits your life. Don't shoot for the moon and say you'll practice an hour a day if you know you only have 20 minutes between work and dinner. Start small. The goal is to make picking up your guitar as automatic and essential as your morning coffee.
Your New Best Friend: The Metronome
Before we map out a schedule, let's talk about the single most important tool you'll use: the metronome. Seriously, practicing with a metronome is non-negotiable if you want to develop a rock-solid sense of time and rhythm. It's the honest broker that keeps your playing clean and precise.
You have to start slow. I mean, painfully slow. Set it to 60 BPM (beats per minute) and just live there for a while. This snail's pace gives you the mental space to focus on making every single note ring out perfectly, with zero fret buzz. Only when you can play an exercise flawlessly, multiple times in a row, should you even think about bumping up the speed. And when you do, only go up by 5 BPM at a time. It's all about quality over speed.
A wise teacher once told me, "Speed is just a byproduct of accuracy." If you can play something perfectly slow, you've laid the groundwork to play it perfectly fast. Rushing just teaches your hands to be sloppy, and those are tough habits to break later on.
How to Structure Your Practice Time
So, what does a solid 15 minutes of practice actually look like? It needs to be intentional. Just noodling around is fun, but it won't build your skills efficiently. A good plan ensures every minute has a purpose. Having a structure takes the guesswork out of it and makes sure you’re hitting all the key areas for improvement.
Here’s a sample routine I give to my beginner students. It's a great way to balance the foundational drills with a bit of creative, fun playing, all squeezed into about 15 minutes. This structure gets your fingers moving, challenges your brain, and then lets you actually make some music.
Sample 15-Minute Daily Practice Plan
Here’s a simple, structured routine to get you started. It's designed to be a balanced workout for your fingers and your brain.
| Time (Minutes) | Activity | Goal & Tempo (BPM) |
|---|---|---|
| 0-5 | Warm-Up & Dexterity | Run through the "Spider Walk" (1-2-3-4 pattern) up and down all six strings. Focus on clean notes and minimal finger movement. Start at 60 BPM. |
| 5-10 | Coordination Drill | Practice a string-skipping exercise or a basic hammer-on/pull-off pattern. The goal is to sync your picking and fretting hands. Stay at 60-65 BPM. |
| 10-15 | Musical Application | Work on a simple chord change you're struggling with (like G to C) or try playing a very simple melody or scale. Apply your warm-up skills to real music. |
This little framework makes your practice time incredibly powerful. You're waking up your fingers, then you're actively working on your coordination, and you wrap up by putting it all into a real musical context. Try sticking to this for just one week. I guarantee you’ll feel a noticeable difference in your control and confidence. A great tip is to jot down your starting and ending tempos each day—it's awesome to see that tangible proof of your progress.
Common Beginner Mistakes and How to Fix Them
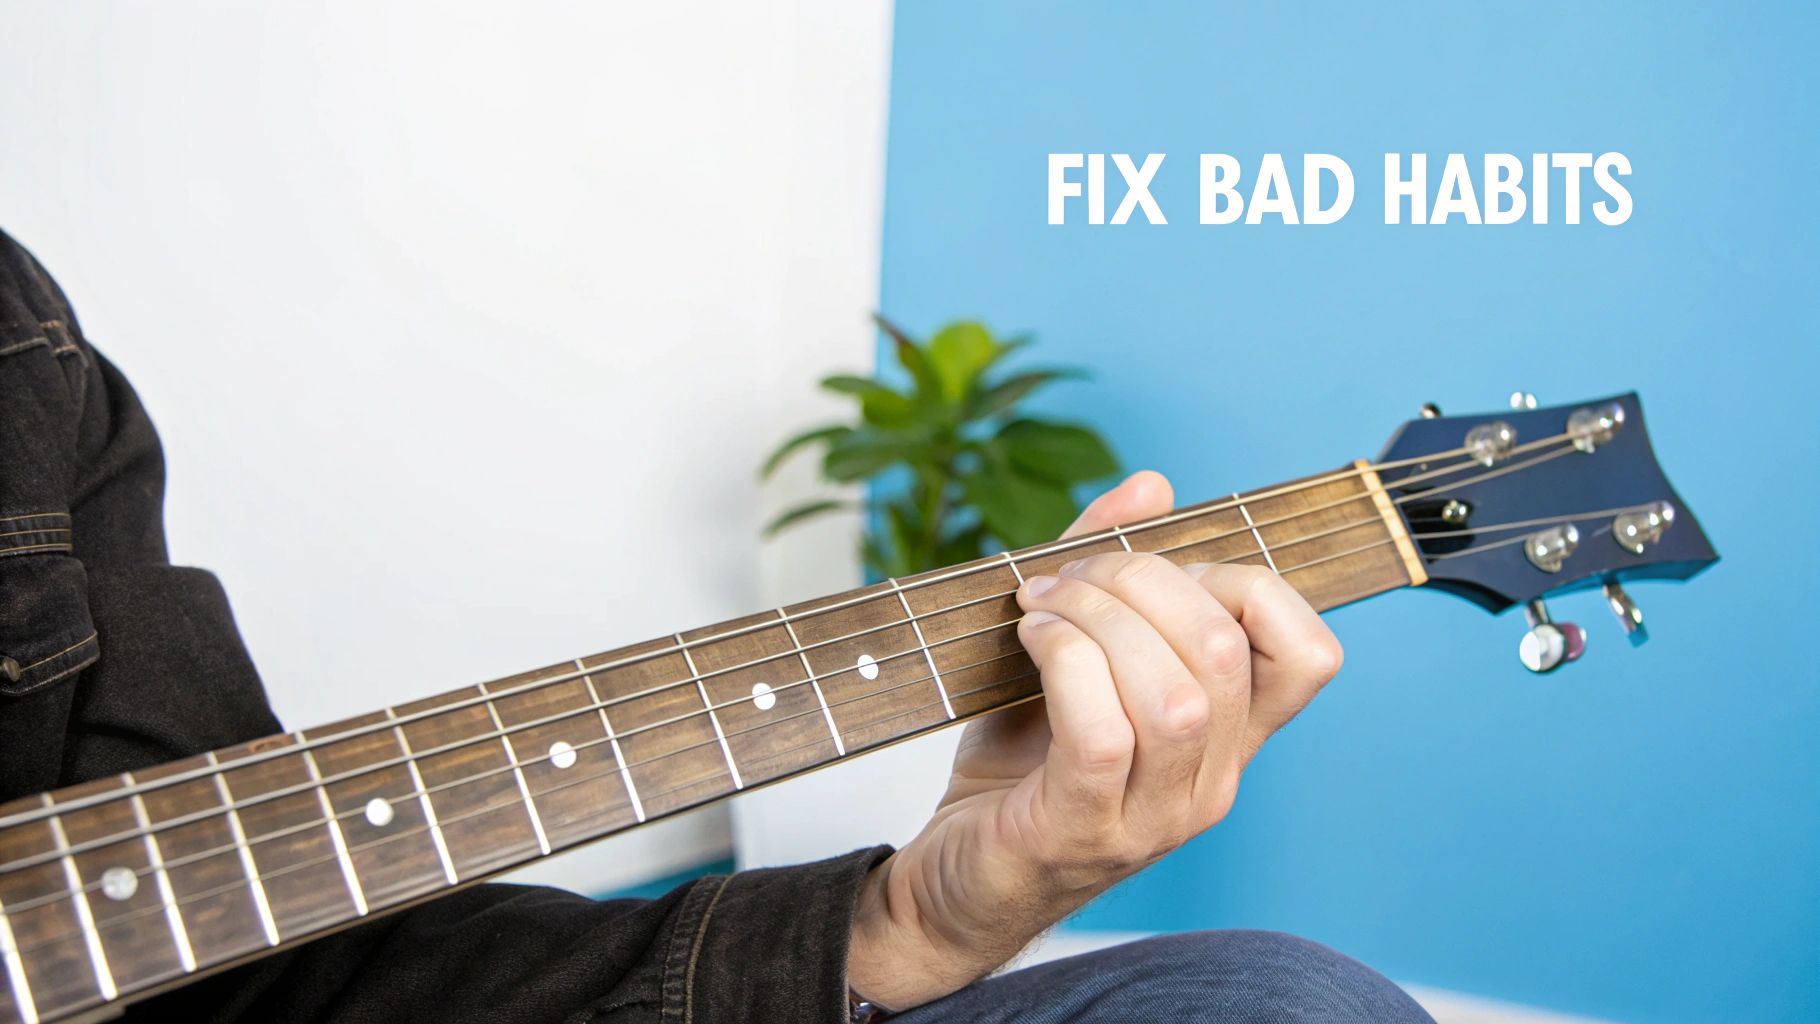
Even with the best guitar finger exercises for beginners, it's incredibly easy for little bad habits to creep into your playing. I see it all the time. The key is to spot these issues early, before they become muscle memory and start holding you back.
Let's break down some of the most frequent problems new guitarists run into.
One of the biggest offenders is the "death grip." This is exactly what it sounds like—squeezing the neck for dear life. You’ll know you’re doing it if your hand starts cramping up or your forearm aches after just a few minutes. Not only is it painful, but all that tension actually chokes the notes and makes moving around the fretboard so much harder.
Quick Fix: Before you even play a note, try this. Squeeze the guitar neck as hard as you can for about three seconds, then completely let go. Feel that difference? That exercise helps your muscles distinguish between tension and relaxation, making it easier to find that sweet spot of a light, efficient grip.
Taming Flying Fingers
Ever notice how your fingers seem to launch into the air after playing a note, hovering way above the strings? We call that “flying fingers.” It might not seem like a big deal at first, but it’s a massive roadblock to playing smoothly and quickly.
Think about it: every extra inch your finger has to travel back down to the string is wasted time and motion. The goal is to keep your fingers low and ready, like little snipers hovering just over their targets.
To fix this, you have to slow everything way, way down. As you do your exercises, focus entirely on keeping your fingertips no more than an inch from the fretboard after they play a note. It feels strange at first, but it pays off big time.
Other Common Pitfalls
Besides the death grip and flying fingers, a couple of other classic beginner issues can trip you up. Be on the lookout for these.
- Pressing Too Hard: You'd be surprised how little pressure you actually need to get a clean, clear note. Anything more than that is just wasted effort. Try experimenting: press a note and slowly lighten up until it starts to buzz. The point just before the buzz is all the pressure you need.
- Bad Thumb Placement: A lot of new players let their thumb wander up and over the top of the neck. For most chords and exercises, your thumb should be resting comfortably on the back of the neck, roughly in the middle, pointing up toward the headstock. This position gives your fingers the best leverage and support.
These are the kinds of details that a great instructor can spot in a heartbeat. If you’re curious about what else a teacher looks for, check out our article on what a guitar teacher wants you to know. Fixing these little things now will save you a ton of frustration down the road.
Got Questions About Finger Exercises? We've Got Answers
Even the best practice plans can leave you with a few questions. It's totally normal. Let's tackle some of the most common things that come up for new guitar players as they start working on their finger dexterity.
How Long Should I Really Practice These Exercises?
For someone just starting out, consistency is way more important than marathon sessions. You'll get much better results with a focused 10-15 minute block of exercises at the beginning of every practice.
Think of it as the perfect warm-up. It gets the blood flowing, wakes up your fingers, and starts building that crucial muscle memory without leading to burnout. This little routine primes your hands for whatever else you plan to work on, whether it's chords, scales, or learning a new song.
Is Using a Metronome Really That Important?
In a word: yes. I can't stress this enough. The metronome is your best friend for building a rock-solid internal clock. So many players have a tendency to speed up or slow down without even noticing, which can bake sloppy habits right into their playing.
A metronome keeps you honest. It's the foundation for developing clean, controlled, and professional-sounding technique, no matter how fast or slow you're playing.
Start slow—somewhere around 60 BPM is a great starting point. The goal is to play the exercise perfectly without any mistakes. Only bump up the speed when you can play it cleanly and confidently several times in a row. This patient approach is the real secret to playing fast and accurately down the road.
My Fingers Hurt a Little—Is That Normal?
Feeling some soreness on your fingertips is 100% normal when you're starting. That's just the feeling of calluses beginning to form, which is exactly what you want! It's a sign your fingers are getting tougher.
However, you need to listen to your body. Sharp pain in your wrist, forearm, or finger joints is a major red flag.
That kind of pain is not normal and it's usually a sign of too much tension or improper technique. If you feel any sharp, shooting, or persistent pain, stop what you're doing immediately. Give your hands a rest, do some gentle stretches, and carefully re-evaluate your posture and how tightly you're gripping the neck.
So, What's Next? Putting It All Together
You've put in the time and your fingers are starting to feel stronger, nimbler, and more cooperative. That's a huge win! But let's be honest, we're not doing these drills just for the sake of it. The real goal is to make music. Now it's time to bridge that gap between mechanical exercises and actual playing.
Start by seeing how these new skills translate to simple musical ideas. Try playing a basic melody, then transitioning smoothly into a C chord or a G chord. You’ll probably notice that forming those chord shapes feels less like a wrestling match. That’s the payoff—the finger independence you’ve been building is starting to kick in right where it counts.
The whole point of an exercise is to make playing the songs you love feel easier and more intuitive. Think of these drills as tools, not the final product.
If you're wondering how to organize all these new skills into a clear path forward, our guide on beginner guitar lessons is a fantastic resource. It's designed to help you turn all this hard practice into real, recognizable music.
Feeling ready to really unlock your potential? If you're here in the East Valley, we'd love to help. At East Valley School of Music in Chandler, Arizona, our whole focus is on helping you reach your musical goals. Come by and book a trial lesson or jump into a group class to see firsthand how our instructors can help you on your journey.